How to integrate Collabora Online in NextCloud

Collabora Online is a full-fledged, web-accessible office suite based on LibreOffice. By integrating Collabora Online with NextCloud, you will be able to create and edit documents directly from NextCloud. Let’s take a look at how to do it.
Preface
This guide will guide you through the installation of NextCloud and Collabora Online on the same host using Docker and Nginx as reverse proxy. I will assume you already have a fair understanding of NextCloud and Nginx.
The tutorial is divided in two sections:
- Installing Collabora Online without domain/SSL: this is a testing purpose tutorial and it is discouraged in production.
- Installing Collabora Online with domain/SSL: this is the official way to do things, but you will require a resolvable domain name and a valid SSL certificate.
If you haven’t yet installed NextCloud you can follow one of these guides:
Requirements
The only requirement is to have Docker and Nginx installed on your machine. If you don’t have them installed, you can easily search for a guide or refer to your distribution’s knowledge base.
Installing Collabora Online without domain/SSL
This setup is intended to be used for testing and proof of concept purposes only. It is insecure to say the least. Port 9980 which is used by Collabora is exposed and should be protected against attackers. Without SSL the communication is unencrypted and could be read by anyone in the middle.
Setting up Docker
The first step is to pull and run the container, you can easily do so by doing:
$ docker run -t -d -p 9980:9980 --name collabora_nextcloud --restart always --cap-add MKNOD collabora/code
Then we need to take care of SSL which is enabled by default in Collabora. I prepared a handy one-liner to achieve it:
$ docker exec -it collabora_nextcloud /bin/bash -c "apt-get -y update && apt-get -y install xmlstarlet && xmlstarlet ed --inplace -u \"/config/ssl/enable\" -v false /etc/loolwsd/loolwsd.xml && xmlstarlet ed --inplace -u \"/config/ssl/termination\" -v false /etc/loolwsd/loolwsd.xml"
Once done it’s time to restart the Docker container:
$ docker restart collabora_nextcloud
Setting up Nginx
This section is superfluous in the SSL-less setup, nevertheless it can be useful if you want to hide the port 9980 and control the traffic. You simply have to create a new server block in your configuration containing the following:
server {
    listen       8080;

    # static files
    location ^~ /loleaflet {
        proxy_pass http://localhost:9980;
        proxy_set_header Host $http_host;
    }

    # WOPI discovery URL
    location ^~ /hosting/discovery {
        proxy_pass http://localhost:9980;
        proxy_set_header Host $http_host;
    }

    # websockets, download, presentation and image upload
    location ^~ /lool {
        proxy_pass http://localhost:9980;
        proxy_set_header Upgrade $http_upgrade;
        proxy_set_header Connection "upgrade";
        proxy_set_header Host $http_host;
    }
}
In this example I used port 8080 but you are free to use whatever you feel like. Be sure however not to use ports used by other services (NextCloud itself). So, no 80, no 443.
Whatever your choice is, remember to set up the firewall you’re using (it depends on your configuration and/or distribution).
Setting up NextCloud
This part is quite straightforward:
- As admin, go to Apps -> Productivity -> Collabora Online; download and enable.
- Go to Admin -> Collabora Online and insert the IP address of your machine.
For example if you have an IP address set to 192.168.33.100 you will use:
- http://192.168.33.100:8080 (If you set up Nginx.)
- http://192.168.33.100:9980 (If you didn’t set up Nginx.)
Installing Collabora Online with domain/SSL
This setup is more secure compared to the precedent. This one, however, requires that you (and the client thats are going to use the service) are able to resolve the domain name of the host properly. You will also need a subdomain for your host (e.g. office.example.com) . You also need a valid SSL certificate (self-signed is probably possible, but I haven’t tried and would probably be a little troublesome).
Setting up Docker
The first step is to pull and run the container. Replace YOUR\\.DOMAIN\\.TLD with your actual domain:
$ docker run -t -d -p 127.0.0.1:9980:9980 -e 'domain=YOUR\\.DOMAIN\\.TLD' --name collabora_nextcloud --restart always --cap-add MKNOD collabora/code
Be sure to use double backslashes when escaping dots in your domain.
Setting up Nginx
In this step you need to create a server block in your Nginx configuration. Also you will need to set up the SSL certificate and to assign a subdomain to the host:
server {
    listen       443 ssl;
    server_name  host.example.com;

    ssl_certificate /path/to/certficate;
    ssl_certificate_key /path/to/key;

    # static files
    location ^~ /loleaflet {
        proxy_pass https://localhost:9980;
        proxy_set_header Host $http_host;
    }

    # WOPI discovery URL
    location ^~ /hosting/discovery {
        proxy_pass https://localhost:9980;
        proxy_set_header Host $http_host;
    }

    # websockets, download, presentation and image upload
    location ^~ /lool {
        proxy_pass https://localhost:9980;
        proxy_set_header Upgrade $http_upgrade;
        proxy_set_header Connection "upgrade";
        proxy_set_header Host $http_host;
    }
}
Remember to set up the firewall you’re using (it depends on your configuration and/or distribution).
Setting up NextCloud
This part is quite straightforward:
- As admin, go to Apps -> Productivity -> Collabora Online; download and enable.
- Go to Admin -> Collabora Online and insert the sub-domain name you have assigned to the Collabora instance.
So if you used host.example.com you will fill the field with: https://host.example.com .
Conclusion
You now know how to integrate the Collabora Online suite with NextCloud, allowing documents, spreadsheets and presentations to be created and edited directly from Nextcloud.
Thanks to this post for the nginx configuration.
- 2020 A year in review for Marksei.com - 30 December 2020
- Red Hat pulls the kill switch on CentOS - 16 December 2020
- OpenZFS 2.0 released: unified ZFS for Linux and BSD - 9 December 2020


Hello, I tried to use NextCloud with Collabora. My server is not directly accessible from the internet (internal server).
I want to create a file server with CentOS (company policy).
I just made an installation this morning (not functional: Access Forbidden ) with this guide and :
https://icewind.nl/entry/collabora-online/7
For tests, I have disabled SELinux as well as the firewall. The AD link is fully functional.
I am a beginner in the field, so I would have some questions:
– I have two subdomains (Cloud.dom.domain.local and Office.dom.domain.local), do I have to generate a self-signed certificate per domain? Currently I have only one with linked to the FQDN of the server that hosts the application.
– Can you explain step by step ?
Thank you for your help !
Hello Saguu,
before I can help you we need to be clear about a few things. I’ll asume:
– You have a functioning instance of NextCloud (what is its FQDN?)
– You have installed Collabora (what is its FQDN?)
– You have a functioning Active Directory connected to NextCloud.
Can you confirm the Collabora container is working? To verify it: on the machine hosting the container, visit http://localhost:9980 . If it is working it means there is a problem with the reverse proxy and/or the SSL certificate (high suspects).
As I stated in the guide, I haven’t tested the use of self-signed certificates. Since you are in a ADS environment, don’t you have an internal Certificate Authority? If you have one, you would just have to create a new signed certificate for the reverse proxy.
Hello (2nd time)
After installing Gnome on Centos, I was able to test https://localhost:9980.
I accept the certificate and the web page displays: OK
Not functionnal with HTTP (Only HTTPS).
Hello Saguu,
sorry for the extensive delay, I had many things to take care of.
The fact that you’re able to access the Collabora instance from localhost (accepting the certificate) means that it works. Your problem, probably lies in the self-signed SSL certificate (the one for the Collabora instance). Unfortunately, I haven’t tried such configuration and can’t help you further with this scenario. What I suggest though, is that you create an internal CA, register it on your machines and emit both certificates using such CA.
Hello,
I’m trying to execute this:
‘$ docker exec -it collabora_nextcloud /bin/bash -c “apt-get -y update && apt-get -y install xmlstarlet && xmlstarlet ed –inplace -u “/config/ssl/enable” -v false /etc/loolwsd/loolwsd.xml && xmlstarlet ed –inplace -u “/config/ssl/termination” -v false /etc/loolwsd/loolwsd.xml”
But i’m getting a Connection time out to archive.ubuntu, I’m an under a proxy, may be it’s because of that?
Regards,
Hello Alexis,
I am almost certain the connection timeout is caused by the proxy, however it could also be a bad network configuration for Docker. I can only suggest you to verify a container (possibly another one) can reach archive.ubuntu.com. This is only a starting point. Next you should check your proxy, firewall and network configuration.
Yes, it was a proxy problem in the docker image.
I’ve resolved it by the shell of the docker doing two things:
1- export https_proxy=”https://usar:pass@ip:port”
export http_proxy=”http://usar:pass@ip:port”
2- modifiying the /etc/apt/apt.conf fil
Acquire::http::proxy “http://usar:pass@ip:port”;
Acquire::https::proxy “https://usar:pass@ip:port”;
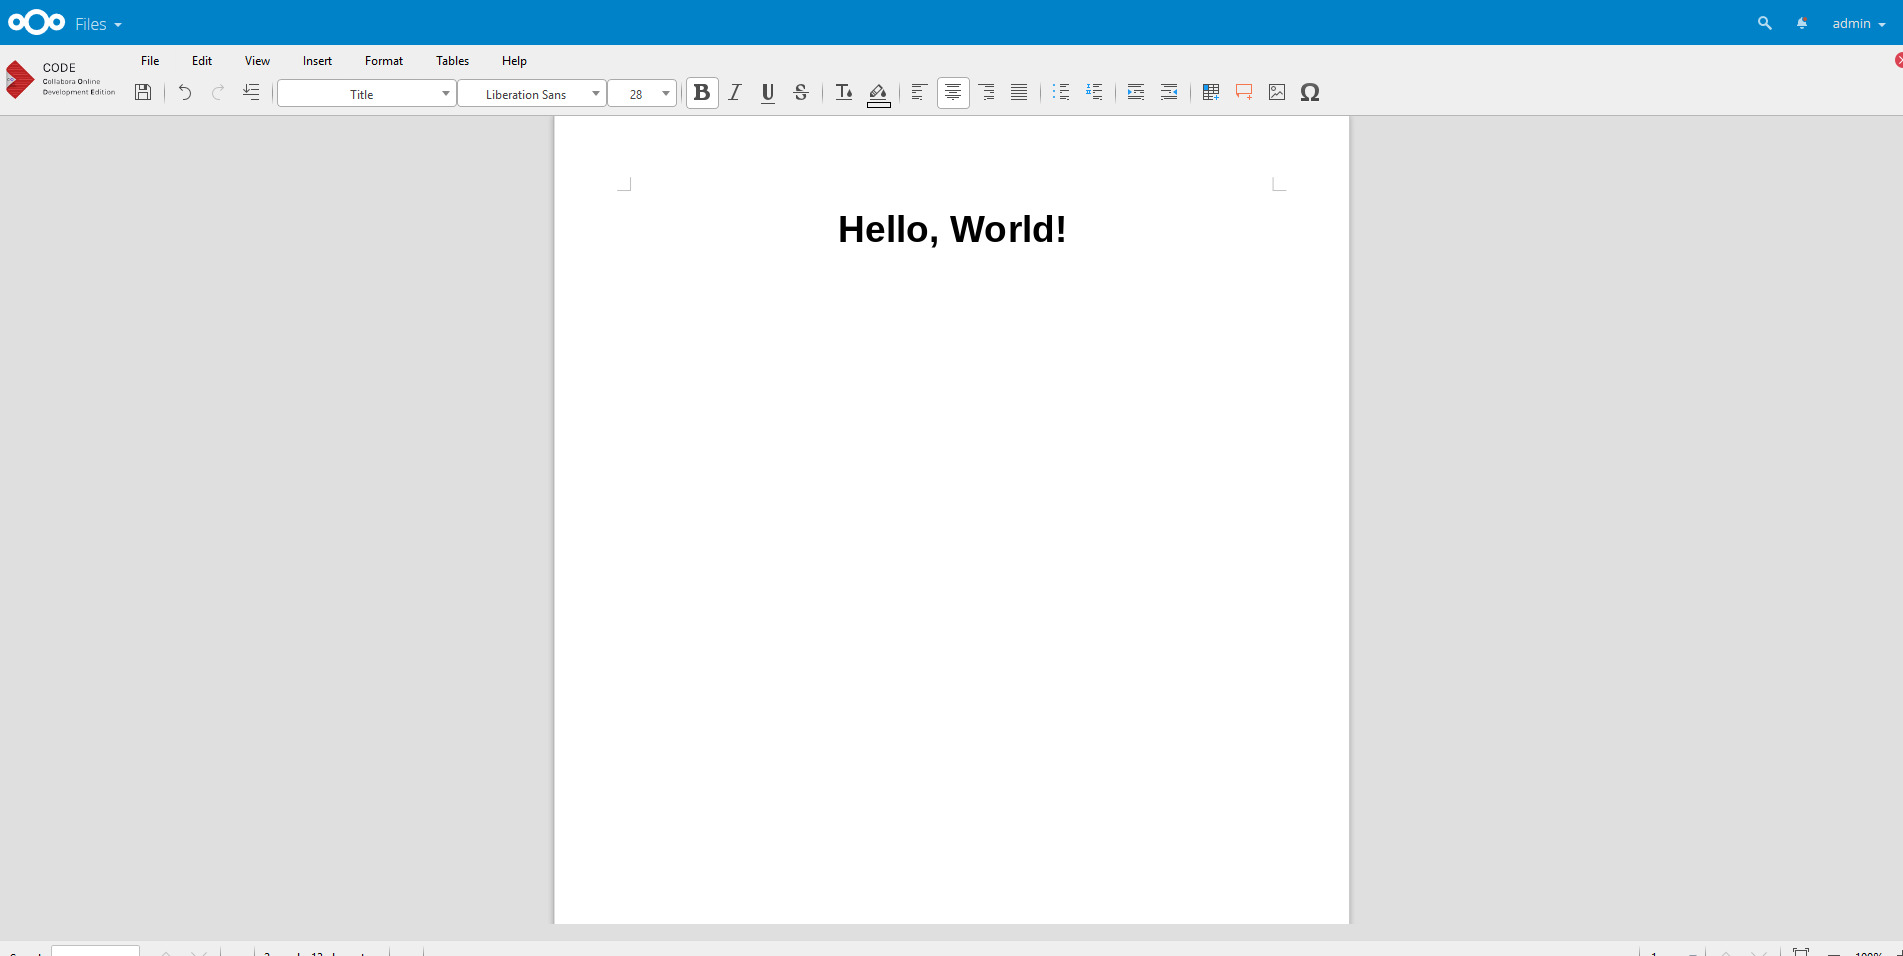
Hello, I have this with the “without domain/ssl” configuration:
https://uploads.disquscdn.com/images/944a97b257833a38b7a97365121300f6ddf53d19a85d6ff4353c113f07cf44a9.png
The toolbar of Collabora CODE, but the document isn’t loaded.
May be it needs another configuration? I didn’t add Apache or Nginx configuration.
Hello Alexis, you probably need to add the configuration to the proxy server (Nginx in this tutorial), you can also check the instance log for more info.
Showing error when i run docker exec -it collabora_nextcloud /bin/bash -c “apt-get -y update && apt-get -y install xmlstarlet && xmlstarlet ed –inplace -u \”/config/ssl/enable\” -v false /etc/loolwsd/loolwsd.xml && xmlstarlet ed –inplace -u \”/config/ssl/termination\” -v false /etc/loolwsd/loolwsd.xml”
E: List directory /var/lib/apt/lists/partial is missing. – Acquire (13: Permission denied)