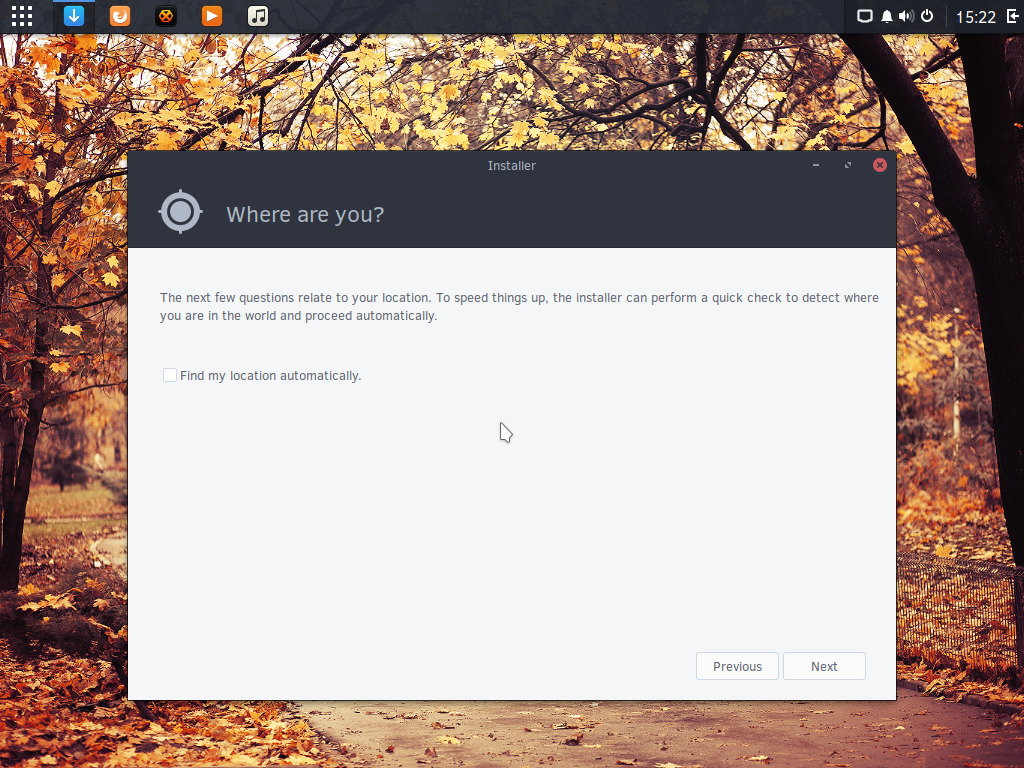
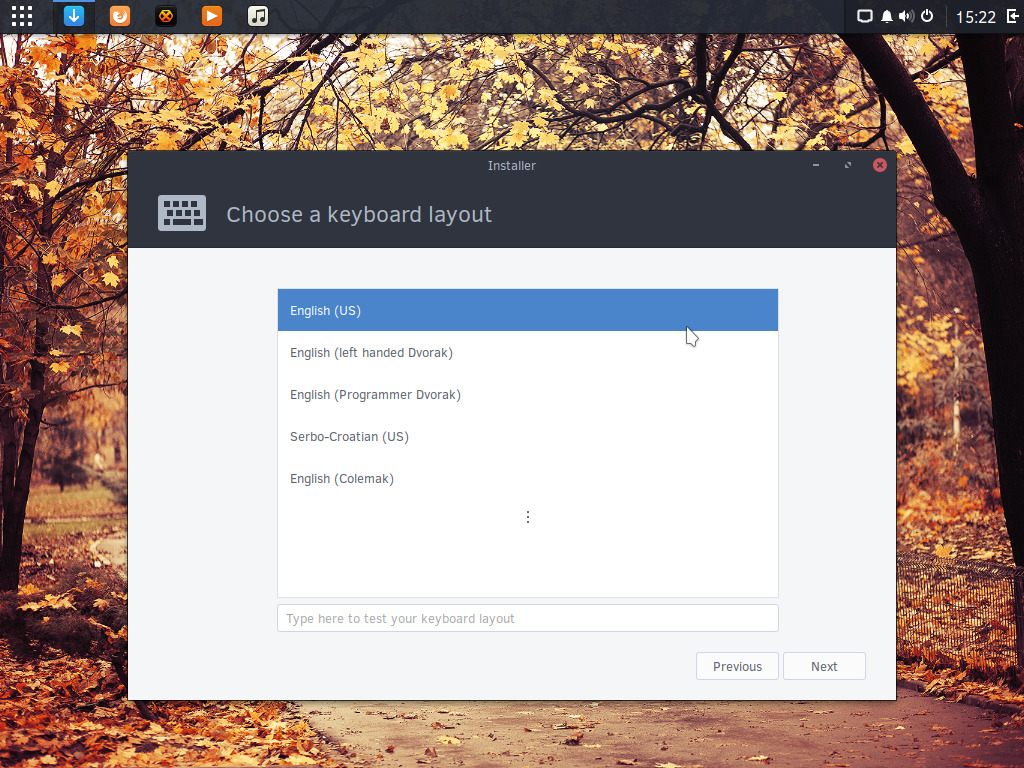
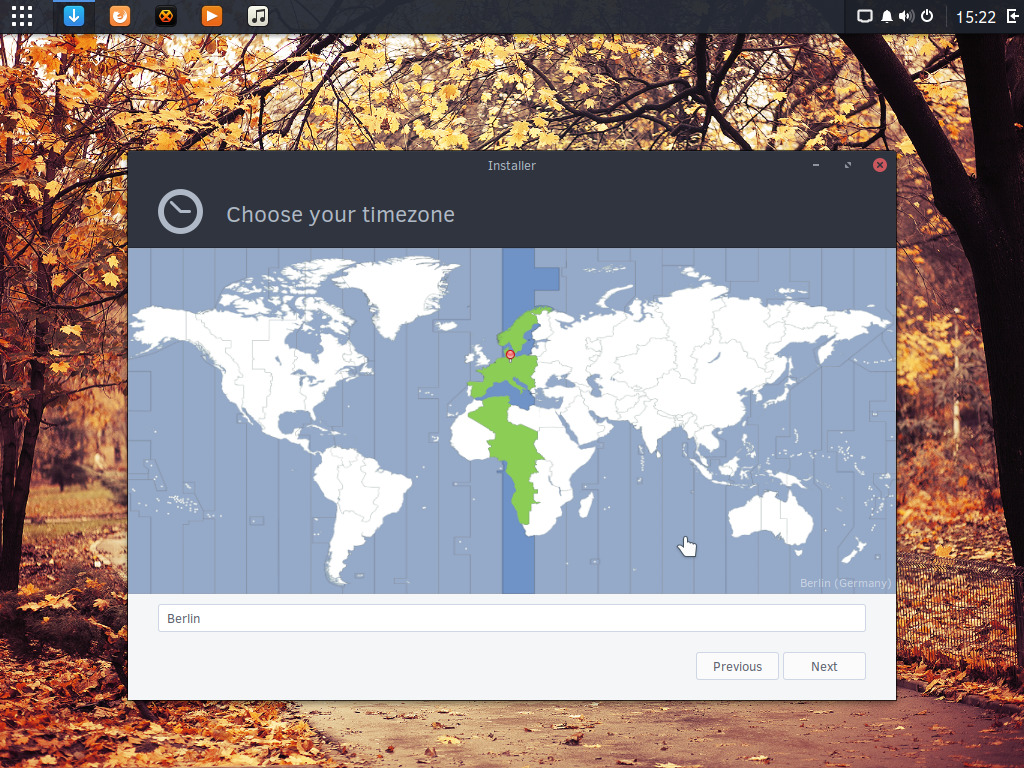
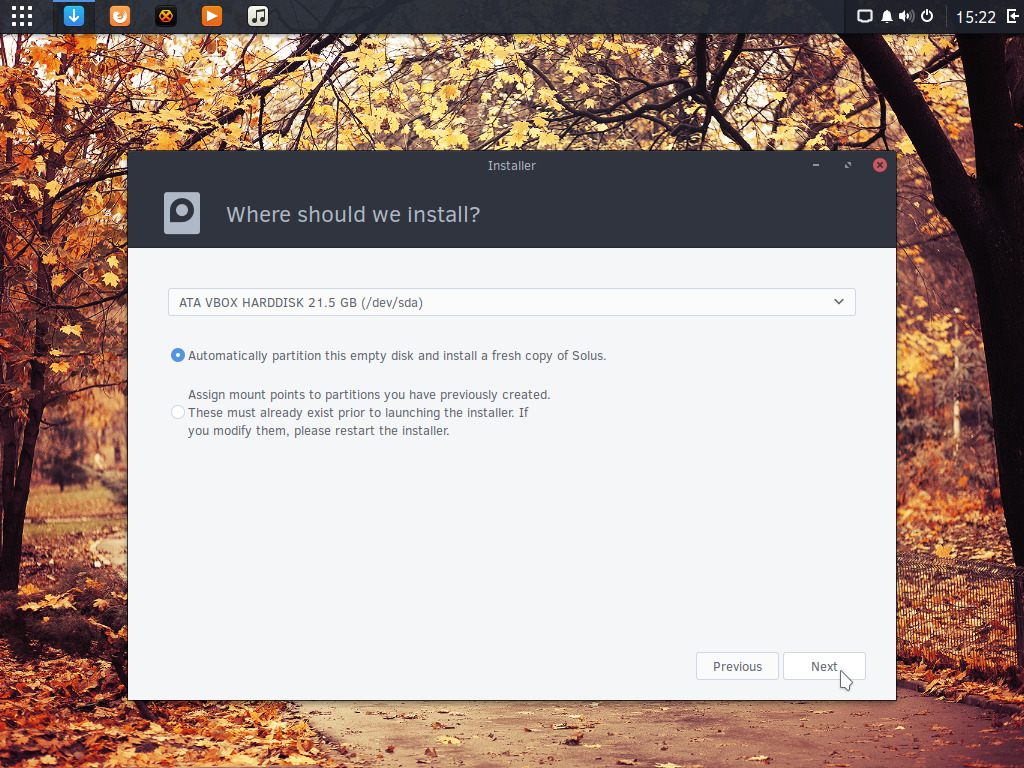
How to install Solus in 15 easy steps!
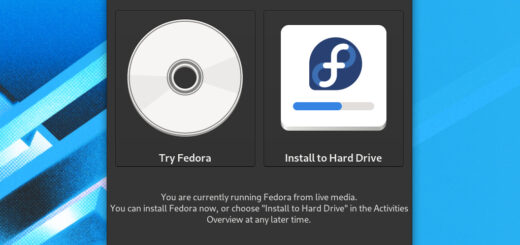
Solus is an independent, rolling-release distribution based on the Budgie desktop. This Linux distribution is geared to desktop computers and aims to provide users with a cohesive experience. Let’s take a look at how to install it.
Important
I take absolutely NO responsibility of what you do with your machine; use this tutorial as a guide and remember you can possibly cause data loss if you touch things carelessly.
Conclusions
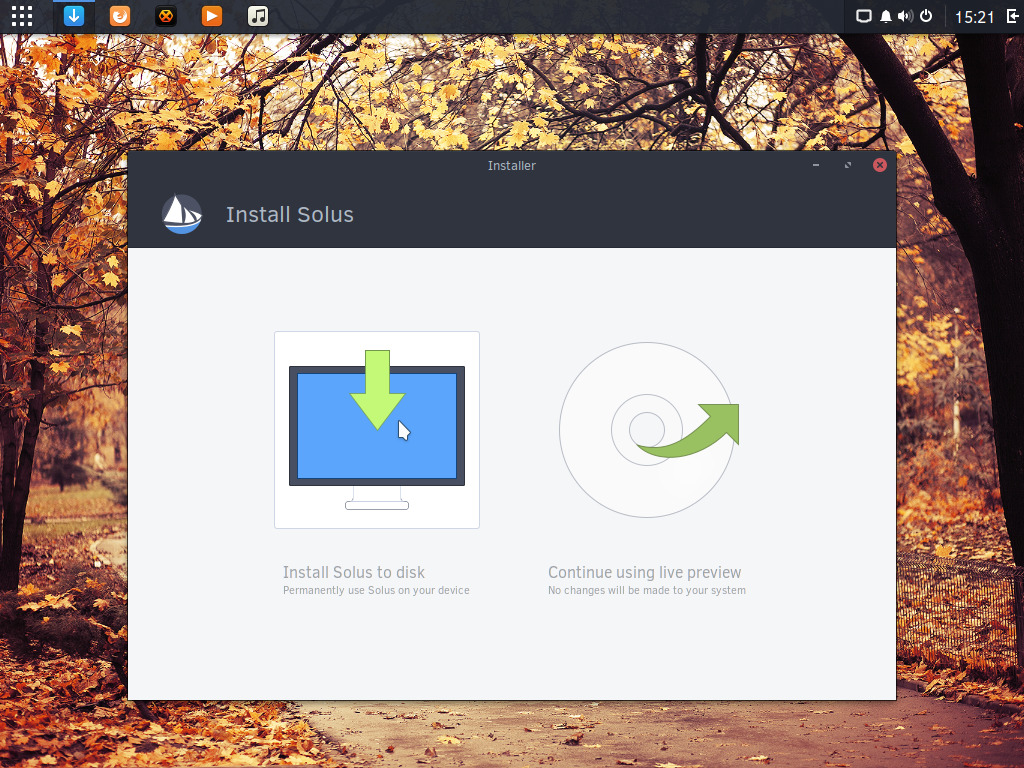
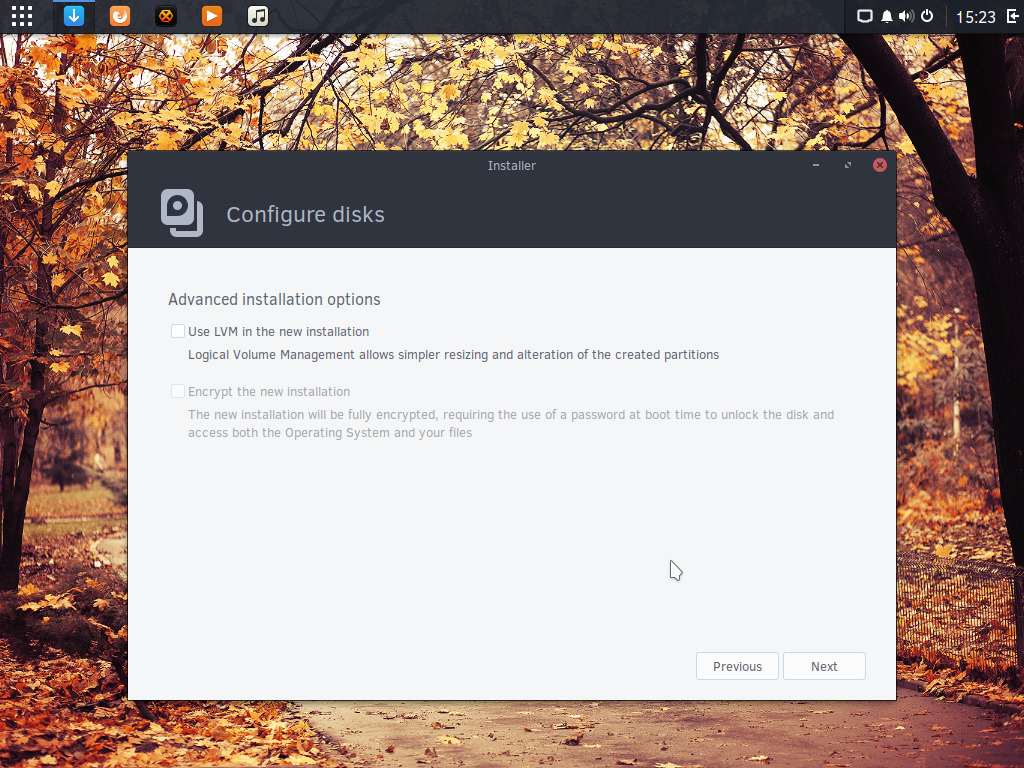
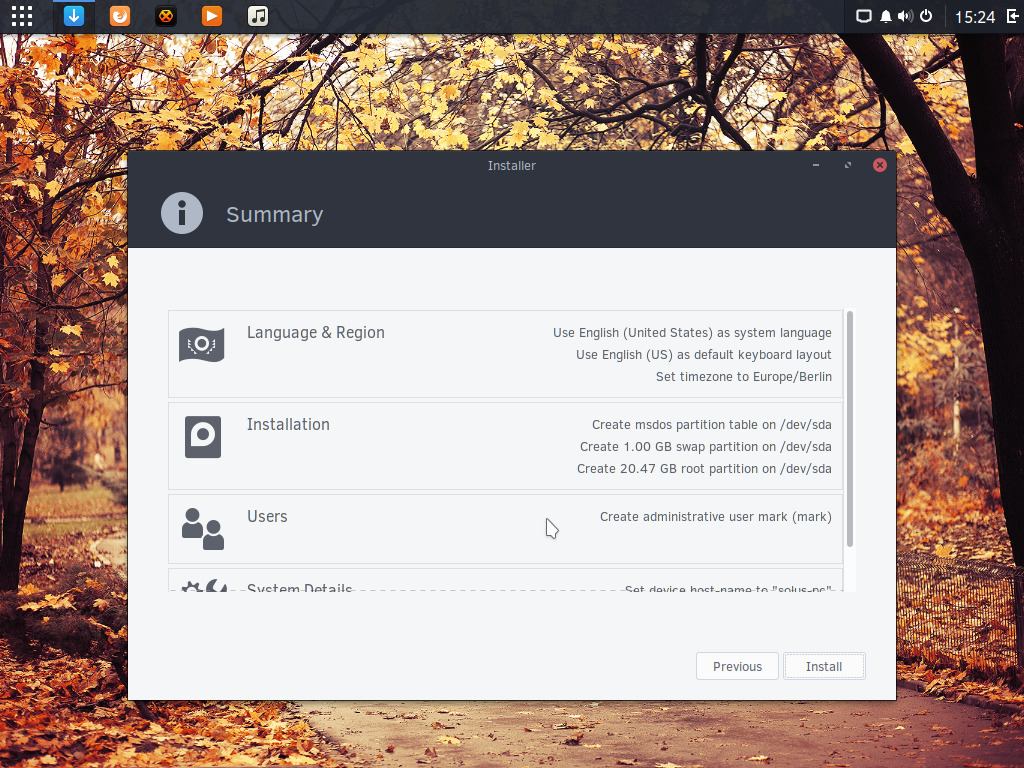
The installation of Solus feels a bit awkward compared to Ubuntu’s and Fedora’s. It is rather simple and misses the possibility to edit partitions through the installer, delegating the operation to another tool and ultimately to the user.
Image courtesy of mark | marksei
The IT guy with a slight look of boredom in his eyes. Freelancer. Current interests: Kubernetes, Tensorflow, shiny new things.
Latest posts by mark (see all)
- 2020 A year in review for Marksei.com - 30 December 2020
- Red Hat pulls the kill switch on CentOS - 16 December 2020
- OpenZFS 2.0 released: unified ZFS for Linux and BSD - 9 December 2020


Recent Comments